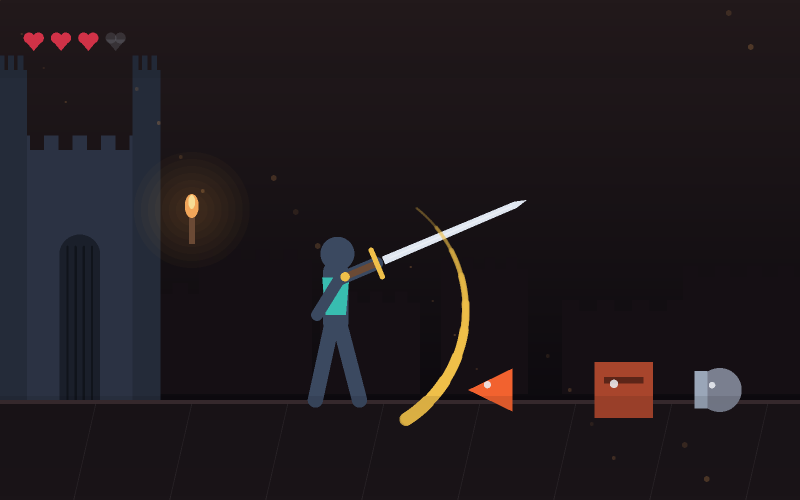
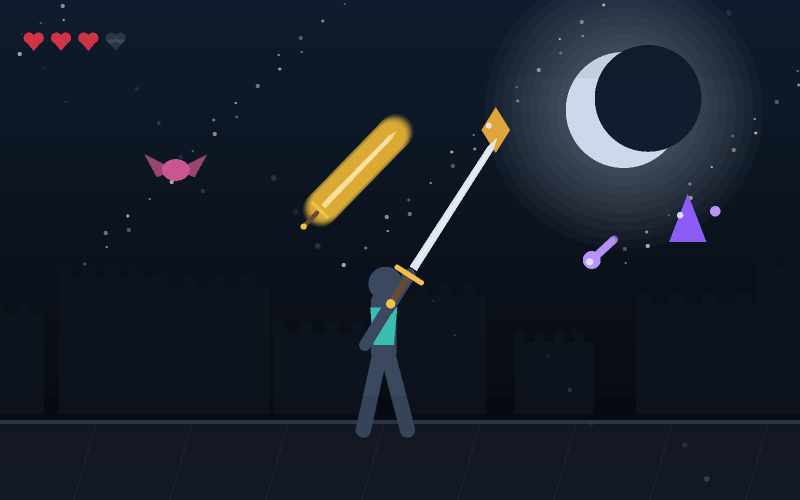
About Sword Storm
No positional escape
This is the hardest game in the defence category because there is no positional answer to a mistake. In every other game on the site, being in the wrong place can be fixed by moving. Here, being turned the wrong way when something arrives means it lands.
The compensation is that everything is visible. Eight lane threads run out from the centre, a dashed strike ring marks the point of no return, and a compass in the corner shows every approach and how far along it each threat is.
That compass is the most information-dense element on the site, and it exists because the threats are spread around the edge of a 960-pixel screen - a player genuinely cannot see all of them at once.
The spin, and when three is more than three
K throws a spin that covers all 360 degrees. It costs three of your four stamina and has a half-second recovery, which is expensive enough that it cannot be the default answer.
The moment it becomes correct is when three or more attackers arrive together. Turning three times takes longer than spinning once, and the spin also knocks bolts out of the air, so a crowded moment with a caster in it is exactly the case the move exists for.
The number of simultaneous arrivals climbs from one to four as the run goes on. That, rather than enemy speed, is the difficulty curve.
Killing further out is worth more
The strike ring sits 96 pixels from you and chargers spawn at 300. A kill pays 0.8 points per pixel between the two, so meeting something at the spawn ring is worth about 160 more than killing it at the last moment.
That is also, obviously, safer. The scoring and the survival incentive point the same way here, which is not true everywhere on the site - in Crystal Blade they deliberately conflict.
How to play
- Press Start. You cannot move - only turn.
- Arrow keys snap your facing to the four compass points; W, E, A and D take the diagonals.
- The mouse turns you freely if you prefer.
- Press Space to cut in the direction you are facing.
- Press K for a spin that covers every direction and knocks bolts down. It costs three stamina.
- Hold Shift to guard, which also only covers the way you are facing.
Controls
| Where | What to do |
|---|---|
| Face a compass point | Arrow keys for the four cardinals |
| Face a diagonal | W, E, A and D |
| Free aim | Mouse position |
| Cut | Space, J, or click |
| Spin attack | K - costs three stamina |
| Guard / parry | Hold Shift |
| Touch | Four directional buttons under the canvas; tap to face and cut |
Scoring
These are the point values this game awards, before the combo multiplier is applied where it uses one. Hit quality changes the figure: a strike at the centre of the correct moment is worth substantially more than one at the edge of it.
Tips
- Read the compass. It shows every approach and how close each one is, which the screen cannot.
- Decide the order before the first one is close. Turning is free; deciding late is not.
- Three arriving at once is what the spin exists for. Two is not worth three stamina.
- Killing at the spawn ring is worth about 160 more than killing at the strike ring.
- A parry throws the charger back out rather than killing it - it buys time, not a kill.
- Your guard only covers your facing. Blocking a charger from behind is impossible.
Common mistakes
- Turning to whichever enemy is prettiest rather than whichever arrives first.
- Using the spin on two enemies and then having no stamina when four arrive.
- Ignoring the compass because the arena looks empty in the direction you are facing.
- Guarding without checking your facing, which does nothing against a flank.
Features
- Eight approach lanes with visible threads from the centre
- A corner compass showing every threat's direction and proximity
- A 360-degree spin attack that also clears bolts, priced at three stamina
- Keyboard facing that snaps to compass points rather than rotating
- Distance-based kill scoring that agrees with the survival incentive
- Parries that throw chargers back to the ring rather than killing them