About Blade Defender
Threads to the core
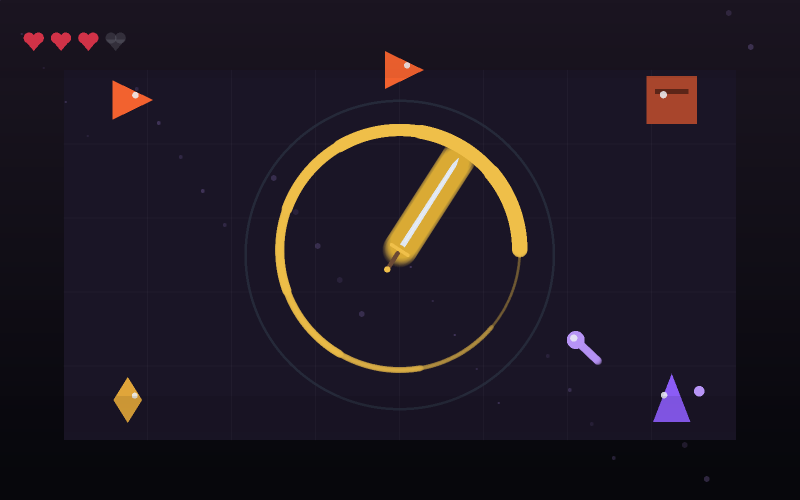
Every enemy is drawn with a faint line running from it to the core. Four of those lines at once is the whole triage problem made visible: you can see at a glance which threat is furthest along its approach rather than which is nearest to you.
The two are frequently different, and choosing the nearest one is the commonest reason a core falls. An enemy at the far edge moving fast is often a worse problem than one already beside you moving slowly.
Three rings are drawn around the core at 110, 180 and 250 pixels. They are there so that 'far enough out' is a thing you can see rather than estimate.
Deflecting bolts is the best play in the game
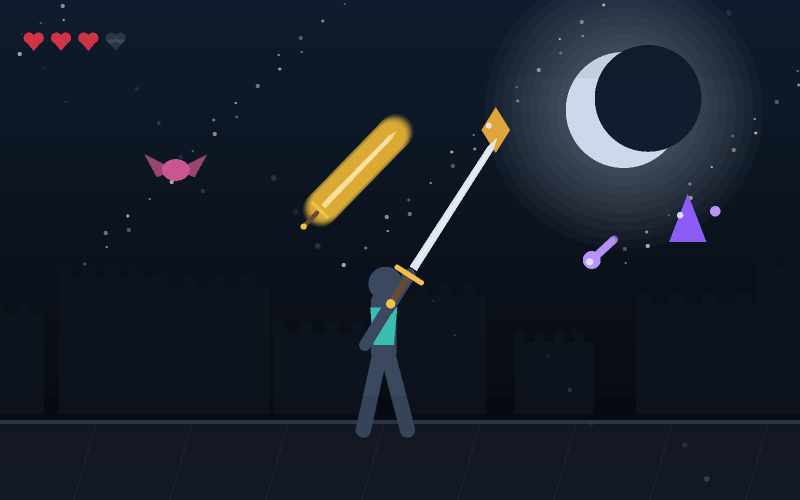
Caster enemies here shell the core rather than chasing you. A swing whose active window overlaps an incoming bolt cuts it out of the air for 160 points with the combo applied, which is more than most kills.
The timing window is roughly the width of a swing's active phase - about a tenth of a second - so this is a genuinely difficult technique rather than a free one. It is also the only way to stop a bolt that is already past you.
Dodging through a bolt is the cheaper alternative and pays 80. It protects you but not the core, which is the distinction the whole category turns on.
Early interception is the scoring strategy
A kill pays a bonus of about 0.9 points per pixel of distance from the core. Meeting an enemy at the arena edge is worth roughly 350 more than killing it at the plinth.
The core also restores two points at the end of any wave where nothing touched it, which is the difference between a run that stabilises and one that slowly bleeds out. Twelve core health sounds like a lot; it is about four mistakes.
How to play
- Press Start. WASD or the arrow keys move; the mouse aims.
- Enemies head for the crystal core in the centre, not for you.
- Press Space for a light attack, K for a heavy one, Shift to dodge.
- A swing that catches a bolt in mid-air deflects it - the highest-value action here.
- Kills pay more the further from the core they happen.
- The core has twelve health and restores two after any wave it survives untouched.
Controls
| Where | What to do |
|---|---|
| Move | WASD or arrow keys |
| Aim | Mouse position, or your direction of travel on touch |
| Light attack | Space, J, or click |
| Heavy attack | K |
| Dodge | Shift or Z |
| Touch | Dodge and Attack buttons; drag to aim |
Scoring
These are the point values this game awards, before the combo multiplier is applied where it uses one. Hit quality changes the figure: a strike at the centre of the correct moment is worth substantially more than one at the edge of it.
Tips
- Follow the threads, not the distances. The nearest enemy is rarely the most urgent.
- The three rings around the core mark where interception is worth what.
- Cutting a bolt out of the air is worth more than most kills. Practise it.
- Dodging a bolt saves you but not the core. Know which one you are protecting.
- The core cannot be hidden behind - it is solid, and standing on it is impossible.
- Being cut down costs two core health, so trading your health to intercept is usually correct.
Common mistakes
- Fighting whatever is closest to you rather than closest to the core.
- Sprinting between two sides and arriving late to both - pick one and commit.
- Ignoring casters because they never come near you. They are the ones hurting the core.
- Letting a wave end with the core damaged when one more interception would have repaired it.
Features
- Visible approach threads from every enemy to the objective
- Distance rings marking where interception is worth what
- Mid-air bolt deflection with a real timing window
- Casters that target the core rather than the player
- Core repair of two points on any untouched wave
- A solid core that cannot be used as cover