About Shadow Sword
Four attacks, four answers
The Sweep drops the blade low and covers a long band in front of the Shadow. It can be blocked, but stepping outside its reach costs nothing and leaves you in position to punish.
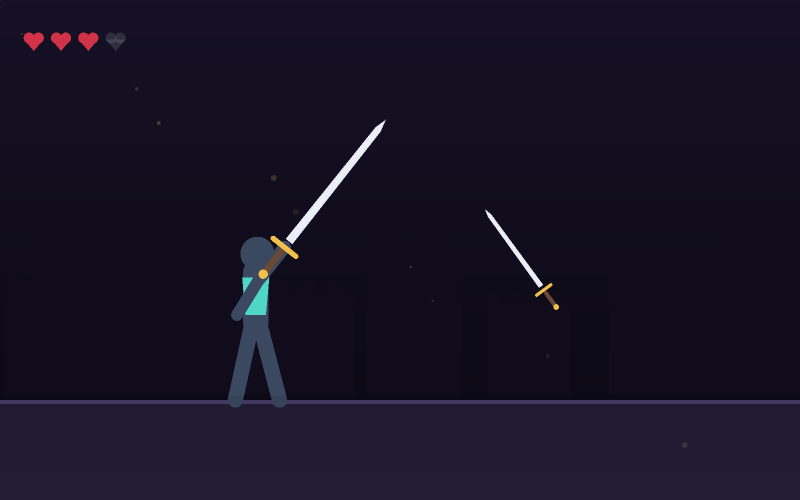
The Lunge coils backward first and covers an enormous distance in a narrow line. It cannot be blocked at all. Dodging sideways with Z is the answer, and its recovery is the longest in the fight.
The Slam raises the blade overhead and lands as a ring centred on the Shadow itself. It also cannot be blocked. Distance beats timing here - be anywhere outside the circle rather than trying to time anything.
The Flurry is three quick attacks in a row from a short wind-up. It can be blocked, but three blocks cost three stamina, which is most of your bar. Guarding it is viable exactly once before you need to back off.
Red means move, gold means you have options
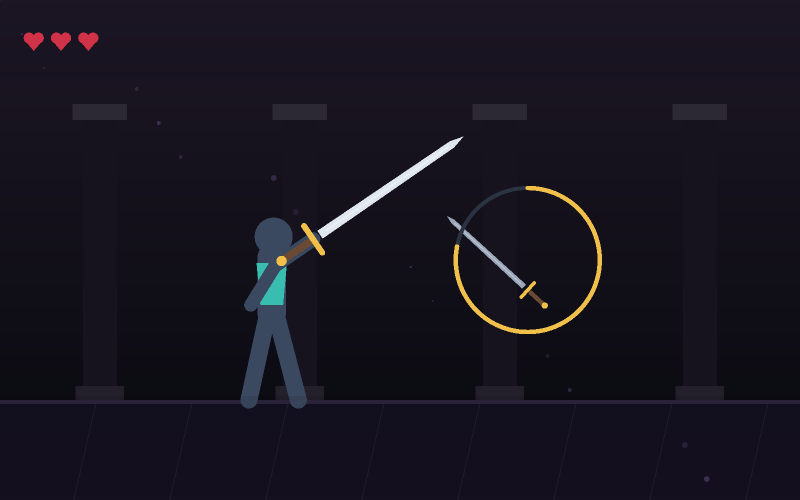
Every telegraph on this site follows the same colour rule, and it is at its most important here. A gold wedge or ring means the attack can be blocked or parried. A red one means it cannot, and no amount of good timing will change that.
Two of the Shadow's four attacks are red. That means half the fight cannot be answered defensively at all, which is what forces movement to be part of your vocabulary rather than an afterthought.
Three phases, and what actually changes
At full health the Shadow runs its four attacks in a fixed order, so each one can be learned in isolation. Below two thirds it starts choosing at random. Below a third the wind-ups compress to about two thirds of their original length.
The tells never change shape - only the time you have to read them. That is a deliberate distinction: the fight gets harder without ever becoming a different fight, so what you learned in phase one is still true in phase three.
Armour outside the openings
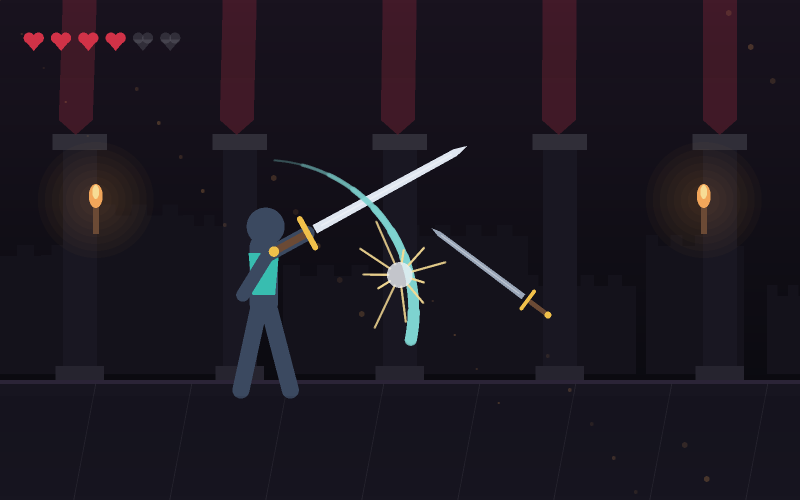
Hitting the Shadow while it is idle or winding up does about a third of your normal damage. Hitting it during its recovery does full damage and counts as a perfect strike.
That ratio is what makes patience mandatory rather than merely advisable. A player who attacks constantly will get the Shadow to about half health and then run out of hearts; a player who only attacks recoveries will kill it with hearts to spare.
How to play
- Press Start. Read the attack name that appears above the Shadow when it winds up.
- Gold telegraph: block with Shift, or step out of the way. Red telegraph: move, do not guard.
- Press Z to dodge, which gives brief invulnerability and covers ground quickly.
- Wait for the attack to finish, then strike during the recovery with Space or K.
- Hitting outside a recovery does about a third damage. Only punishes really matter.
- The Shadow speeds up at two thirds and one third of its health.
Controls
| Where | What to do |
|---|---|
| Move (desktop) | Left and Right arrows, or A and D |
| Light attack | Space or J |
| Heavy attack | K |
| Guard / parry | Hold Shift |
| Dodge | Z (direction follows your movement keys) |
| Mouse | Click low for light, high for heavy |
| Touch | Guard, Dodge and Attack buttons under the canvas |
Scoring
These are the point values this game awards, before the combo multiplier is applied where it uses one. Hit quality changes the figure: a strike at the centre of the correct moment is worth substantially more than one at the edge of it.
Tips
- Learn the four names. The game prints them above the Shadow and they never change.
- Red outline means the guard will not help. Those two attacks want distance.
- The Lunge has the longest recovery in the fight. Baiting it deliberately is the strongest play.
- Do not block the Flurry twice in a row - three blocks is most of your stamina bar.
- Attacking outside a recovery does about a third damage. It is almost never worth the risk.
- Keep one stamina in reserve so a dodge is always available for a red telegraph.
Common mistakes
- Guarding a red telegraph. It is unblockable and the guard simply does not apply.
- Attacking while the Shadow is mid-swing, which is refused and wastes your recovery.
- Trying to out-damage it. Armour outside the openings makes that arithmetic impossible.
- Standing at maximum range the whole fight - you will never reach a recovery in time.
- Panicking at the phase change. Nothing new is added; the tells only get shorter.
Features
- Four hand-authored attacks, each with a distinct tell and a distinct correct answer
- Two unblockable attacks that force movement into your defensive vocabulary
- A fixed attack order in phase one so each pattern can be learned in isolation
- Damage armour outside the openings that makes patience mandatory
- Dodge with visible invulnerability frames and a ghost trail
- Three phases that shorten the tells without ever changing them