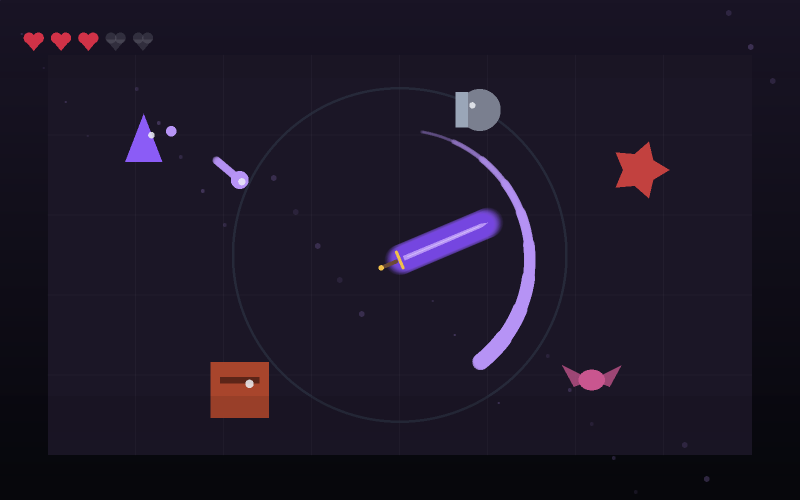
About Blade Rush
The reach line is the whole game
A dashed vertical line marks the far edge of your reach. Anything past it cannot be hit, and a swing thrown at it is a wasted swing that breaks your combo.
More usefully, the line tells you where the points are. A cut scores based on how close to the outer edge of your reach it landed, so an enemy struck the instant it becomes reachable is worth roughly a third of one struck at the line itself. Waiting is worth more than reacting.
That single rule turns a simple game into one with a skill ceiling. Everyone can survive by swinging early. Scoring requires holding the swing until the last moment you can afford.
Two heights, arriving one at a time
Ground enemies walk; fliers approach at head height. Up and Down switch which height you are guarding, and a swing only covers the height you are at.
Fliers do not appear until the ground rhythm is established - roughly twenty seconds in. That staging is deliberate: the second height arrives as a new idea rather than as noise, at a point where the first one has become automatic.
Power-ups, and cutting them on purpose
Three power-ups drift in on the same two heights as the enemies, and they are collected by cutting them rather than by walking into them. That means every power-up costs you a swing you might have needed.
The red cross restores a heart, and only appears when you are actually missing one. The teal S is a blade surge that widens your reach by half for seven seconds. The violet T slows everything for five seconds, which is the most valuable of the three because it makes the edge-of-reach timing dramatically easier.
How to play
- Press Start. You stand still - only the enemies move.
- Press Up or Down to switch between the high and low guard.
- Press Space to cut. A cut only covers the height you are currently at.
- Let the enemy reach the dashed line before you swing. Cutting at the line scores about three times as much.
- Cut power-ups to collect them. They arrive on both heights.
- Four hearts. Anything that reaches you costs one.
Controls
| Where | What to do |
|---|---|
| Switch height | Up and Down arrows, or W and S |
| Cut | Space, J or K |
| Mouse | Click high or low - the click both switches height and cuts |
| Touch | Jump, Slide and Slash buttons, or tap high and low |
| Pause | Escape or P |
Scoring
These are the point values this game awards, before the combo multiplier is applied where it uses one. Hit quality changes the figure: a strike at the centre of the correct moment is worth substantially more than one at the edge of it.
Tips
- Watch the dashed line, not the enemy. The line is where the points are.
- Switch height early. A late height switch is the most common reason a cut misses.
- The slow power-up is worth more than the surge - it makes every cut easier, not just longer.
- Combo multiplies everything. A run without a missed swing is worth more than a longer sloppy one.
- Fliers arrive around twenty seconds. Expect them rather than being surprised.
- The health power-up only appears when you are missing a heart, so it is never a wasted drop.
Common mistakes
- Swinging the moment an enemy is reachable, which is safe and worth a third as much.
- Forgetting to switch height, then swinging into empty air and losing the combo.
- Ignoring power-ups because cutting them costs a swing - the slow effect repays it immediately.
- Panicking as the pace climbs. The spawn gap has a floor and never becomes impossible.
Features
- Distance-based scoring that rewards holding a swing until the last moment
- Two attack heights, staged so the second arrives once the first is automatic
- Three power-ups collected by cutting them, so each one costs a swing
- A difficulty ramp with a hard floor on the spawn gap
- Full one-thumb touch support - tap high or low to switch and cut in one gesture
- Local personal bests, stored only in your browser